Table of Contents
There is something deeply nostalgic and comforting about the smell of fresh bread wafting through a kitchen. If you have ever felt intimidated by yeast, kneading, or the precise science of bread making, this no knead buttermilk dinner rolls recipe is about to become your new kitchen best friend. Many home cooks struggle with rolls that turn out dense, dry, or require hours of manual labor at the counter. I promise you that you can achieve bakery-quality, pillowy-soft results without breaking a sweat or even touching the dough with your hands.
This recipe solves the common “heavy bread” problem by utilizing the natural acidity of buttermilk to tenderize the gluten, resulting in a crumb so light it practically melts. Whether you are prepping for a Sunday dinner or just want to elevate a simple weeknight soup, these no knead buttermilk dinner rolls offer a foolproof path to success. By the end of this guide, you will have the confidence to whip up a batch of golden, buttery rolls that will have everyone asking for your secret.
Recipe Overview
This method focuses on high hydration and a slow rise. By letting time do the work of kneading, we develop a complex flavor and a soft texture. This no knead buttermilk dinner rolls approach is perfect for beginners or busy cooks who want fresh bread with minimal active effort.
Quick Recipe Facts
- Active Time: 15 minutes
- Rise Time: 2 – 3 hours
- Bake Time: 20 minutes
- Difficulty: Beginner-friendly
- Texture: Soft, airy, and slightly tangy
What Is This Recipe
The no knead buttermilk dinner rolls are a yeast-based bread that relies on a shaggy, wet dough. Unlike traditional rolls that require 10 minutes of intense kneading to develop gluten, this recipe uses a higher moisture content and a longer fermentation period to naturally align the protein strands. The addition of buttermilk provides a rich flavor profile that plain water or milk simply cannot match.
Origins & Inspiration
While dinner rolls have been a staple of American tables for generations, the “no-knead” revolution gained massive popularity in the early 2000s. We have taken that low-stress technique and adapted it specifically for the enriched dough world. By incorporating buttermilk—a staple in Southern baking—we’ve created no knead buttermilk dinner rolls that bridge the gap between a rustic artisan loaf and a classic cafeteria yeast roll.
Why You’ll Love This Dish
You will fall in love with these no knead buttermilk dinner rolls because they eliminate the guesswork. There is no “windowpane test” required and no sore arms from kneading. They are incredibly versatile, staying soft for days thanks to the fat content in the buttermilk and butter. Plus, the golden-brown tops brushed with honey butter are absolutely irresistible to kids and adults alike.
Ingredients & Notes
To make the perfect no knead buttermilk dinner rolls, quality ingredients are key.
- All-Purpose Flour: Provides the right amount of structure without being too chewy.
- Buttermilk: Must be room temperature or slightly warm. It adds tenderness and a subtle tang.
- Honey or Sugar: Feeds the yeast and adds a touch of sweetness to the no knead buttermilk dinner rolls.
- Instant Yeast: For a reliable, quick rise.
- Unsalted Butter: Melted and cooled; this creates the rich, brioche-like crumb.
- Salt: Essential for regulating yeast activity and enhancing flavor.
Step-by-Step Instructions
- Activate Yeast: In a large bowl, whisk together warm buttermilk, honey, and yeast. Let it sit for 5 minutes until foamy.
- Mix the Dough: Add the melted butter and salt. Gradually stir in the flour with a wooden spoon until a sticky, shaggy dough forms. Ensure no dry flour streaks remain for your no knead buttermilk dinner rolls.
- First Rise: Cover the bowl with a damp cloth or plastic wrap. Let it rise in a warm, draft-free spot for about 1.5 to 2 hours, or until doubled in size.
- Shape: Gently punch down the dough. Using floured hands, divide into 12-15 equal pieces. Roll into smooth balls and place in a greased 9×13 baking dish.
- Second Rise: Cover the rolls and let them rise again for 30–45 minutes. They should look puffy and be touching each other.
- Bake: Preheat your oven to 375°F. Bake the no knead buttermilk dinner rolls for 18–22 minutes until the tops are deeply golden.
- Finish: Brush immediately with melted butter and a pinch of sea salt.
Pro Tips for Perfect Results
The secret to the best no knead buttermilk dinner rolls is the temperature of the buttermilk. It should be between 100°F and 110°F. If it is too hot, you will kill the yeast; too cold, and it won’t activate. Also, don’t be tempted to add too much extra flour when shaping. The dough should be slightly tacky; this moisture is what keeps the no knead buttermilk dinner rolls soft after baking.
Variations & Ingredient Swaps
- Garlic Herb: Mix 1 teaspoon of garlic powder and dried parsley into the flour.
- Whole Wheat: Replace half of the all-purpose flour with whole wheat flour for a nuttier flavor.
- Cheesy Rolls: Fold in a half cup of shredded cheddar dough during the mixing stage.
- Vegan Option: Use warmed soy milk with a teaspoon of lemon juice as a buttermilk sub and vegan butter for these no knead buttermilk dinner rolls.
Ingredient Spotlight
Buttermilk is the MVP here. In no knead buttermilk dinner rolls, the lactic acid breaks down long strands of gluten, which prevents the rolls from becoming tough. This results in a “short” crumb that is incredibly tender. If you don’t have buttermilk, you can make a quick DIY version by adding 1 tablespoon of lemon juice or white vinegar to 1 cup of whole milk and letting it sit for 10 minutes.
Serving & Plating Ideas
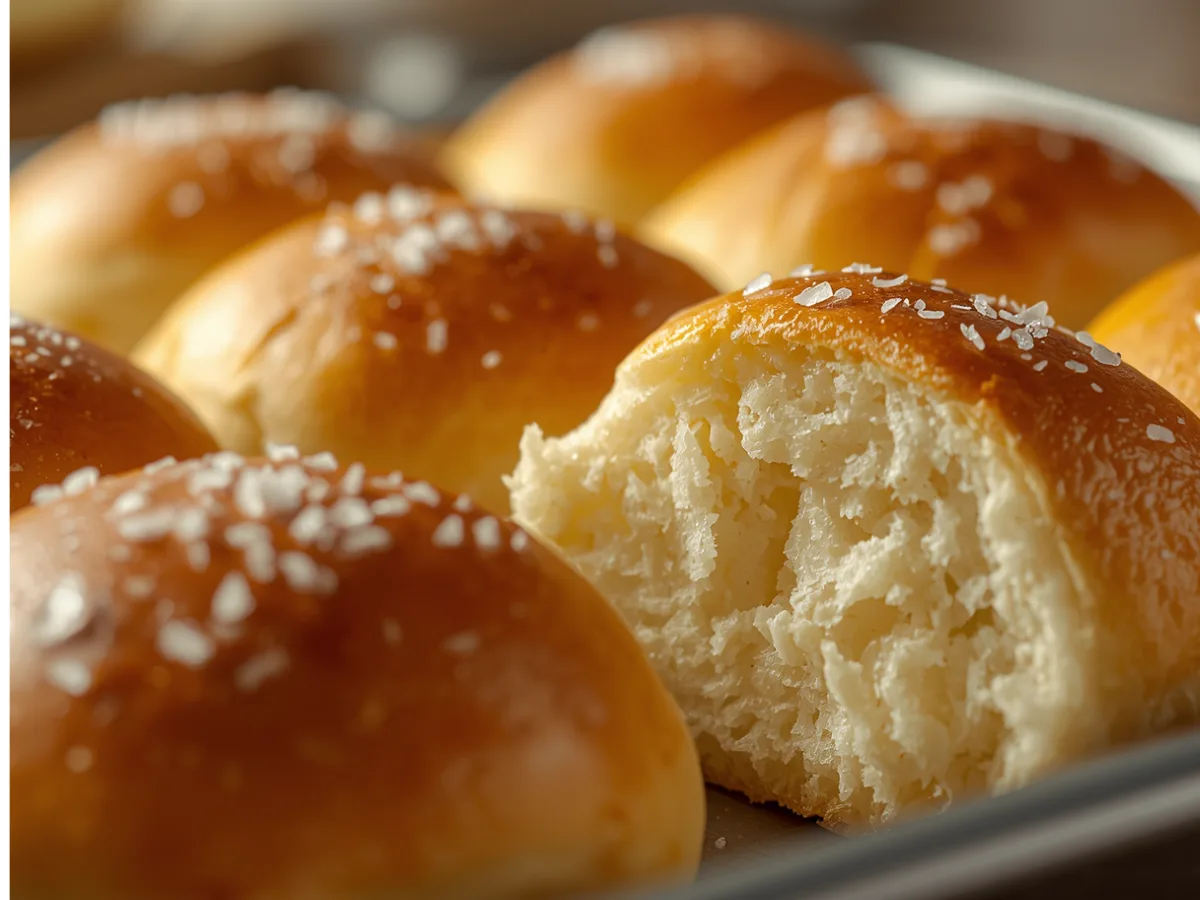
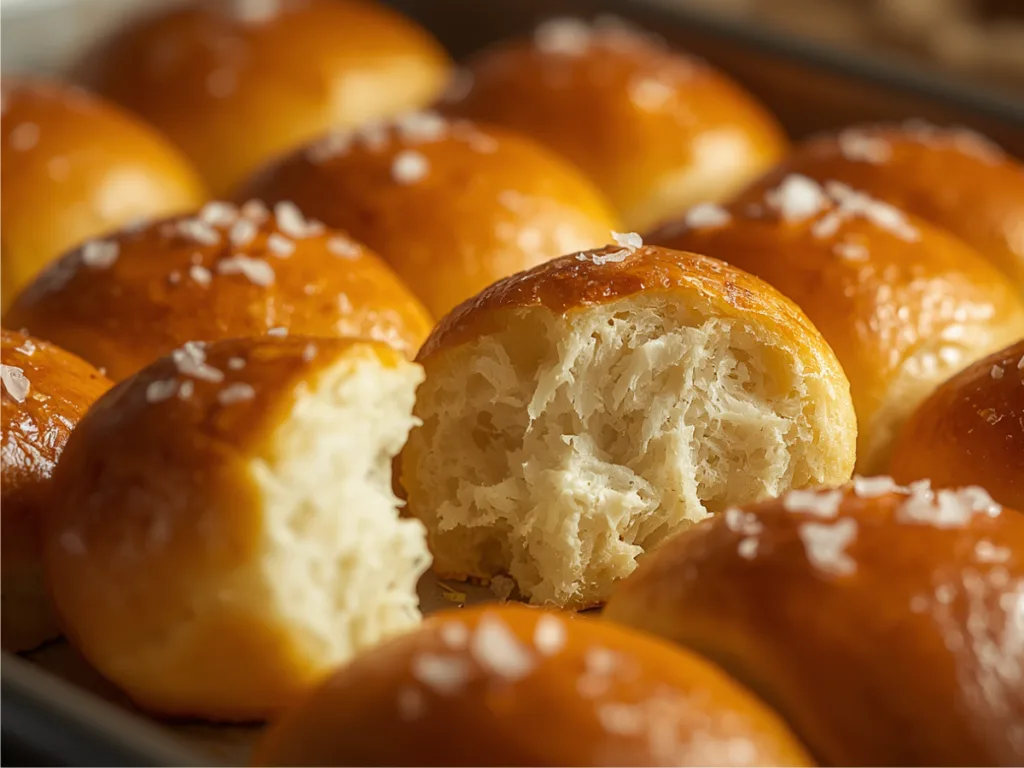
Serve these no knead buttermilk dinner rolls warm in a basket lined with a linen napkin to trap the steam. They look beautiful when placed in the center of the table. For a professional touch, sprinkle a few flaky sea salt crystals over the buttered tops just before serving.
Best Side Dishes
These rolls are the ultimate companion for hearty meals. Pair your no knead buttermilk dinner rolls with a creamy tomato soup, a slow-cooked pot roast, or a fresh garden salad. They are also excellent for making small sliders with roast beef or pulled chicken.
Drink Pairings
Since these rolls are buttery and neutral, they pair well with almost any beverage. A sparkling apple cider or a crisp ginger ale provides a refreshing contrast to the richness of the bread. For a cozy evening, a warm mug of herbal tea is the perfect accompaniment to no knead buttermilk dinner rolls.
Storage & Make-Ahead Guide
- Room Temp: Store in an airtight bag for up to 3 days.
- Freezer: You can freeze the no knead buttermilk dinner rolls after they have cooled completely. Wrap tightly in foil and place in a freezer bag for up to 3 months.
- Reheating: To get that “just baked” feel, wrap the rolls in foil and warm in a 350°F oven for 5–7 minutes.
Budget Cooking Tips
Bread is one of the most cost-effective things you can make at home. A large bag of flour and a jar of yeast cost pennies per serving. To save even more on your no knead buttermilk dinner rolls, buy yeast in bulk rather than individual packets and store it in the freezer to keep it fresh for months.
Cooking for a Crowd
If you are hosting a large gathering, this recipe is easily doubled. Use two 9×13 pans or one large commercial baking sheet. Because there is no kneading, doubling the batch of no knead buttermilk dinner rolls doesn’t add any significant physical labor.
Weeknight Cooking Plan
To have fresh no knead buttermilk dinner rolls on a Tuesday, mix the dough the night before and let it rise in the refrigerator overnight. Cold fermentation actually improves the flavor. In the evening, just shape, let them come to room temperature/rise for an hour, and bake!
Family-Friendly Adaptations
Kids love to help shape the dough! Let them roll the pieces into balls. You can also make “mini rolls” by dividing the dough into 24 smaller pieces, which are perfect for little hands. These no knead buttermilk dinner rolls are always a hit at school potlucks.
Troubleshooting Guide
If your no knead buttermilk dinner rolls didn’t rise, check your yeast expiration date. If the dough is too crusty, you might have overbaked them; try tenting them with foil next time. If they are doughy in the middle, ensure your oven is properly calibrated using an oven thermometer.
Seasonal Context
While we love these year-round, there is something special about warm no knead buttermilk dinner rolls during the chilly autumn and winter months. They are the perfect vessel for mopping up gravy and sauces during those cozy Sunday roasts.
Frequently Asked Questions
Can I use bread flour for no knead buttermilk dinner rolls? Yes, bread flour will work and will give the rolls a slightly more “chewy” texture due to the higher protein content.
How do I make my rolls extra shiny? For a high-shine finish on your no knead buttermilk dinner rolls, brush them with an egg wash (one egg beaten with a tablespoon of water) right before they go into the oven.
Why is my dough so sticky? No-knead dough is naturally stickier than traditional dough. Do not keep adding flour, or the no knead buttermilk dinner rolls will become heavy. Use floured hands to handle it.
Can I freeze the unbaked dough? It is better to bake the no knead buttermilk dinner rolls first and then freeze them. However, you can freeze the shaped balls; just allow them to thaw and rise completely before baking.
What if I don’t have honey for the no knead buttermilk dinner rolls? You can easily substitute white sugar, maple syrup, or agave nectar in equal amounts.
Love this recipe? Discover even more!
Explore my Pinterest boards for a world of delicious recipes, fresh ideas, and inspiring flavors. Click here and start pinning your next favorite dish! ➜https://www.pinterest.com/ElitesRecipes/
PrintNo Knead Buttermilk Dinner Rolls
Pillowy soft and incredibly easy dinner rolls that require absolutely no kneading. The buttermilk creates a tender, rich crumb that is perfect for any meal.
- Prep Time: 15 mins
- Cook Time: 20 mins
- Total Time: 2 hours 35 mins
- Yield: 12 rolls
- Category: Side Dish
- Method: Baking
- Cuisine: American
- Diet: Vegetarian
Ingredients
3 cups All-purpose flour
1 cup Warm buttermilk (105°F)
2 1/4 tsp Instant yeast (1 packet)
3 tbsp Honey or sugar
4 tbsp Unsalted butter, melted
1 tsp Salt
2 tbsp Additional melted butter for brushing
Instructions
1.Whisk warm buttermilk, honey, and yeast in a large bowl and let sit for 5 minutes.
2.Stir in melted butter and salt until combined.
3.Gradually add flour, stirring with a wooden spoon until a sticky dough forms.
4.Cover and let rise in a warm spot for 90-120 minutes until doubled in size.
5.Gently divide dough into 12 balls and place in a greased 9×13 pan.
6.Cover and let rise for another 30-45 minutes.
7.Bake at 375°F for 18-22 minutes until golden brown.
8.Brush with melted butter immediately after removing from the oven.
Notes
Ensure buttermilk is not too hot or it will kill the yeast.
For a shiny finish, use an egg wash before baking.
Store in an airtight container to maintain softness.